Getting Down To It
Each warband has their own unique story to follow throughout the campaign, so whichever story you think you’d be interested in, take this into account when choosing.
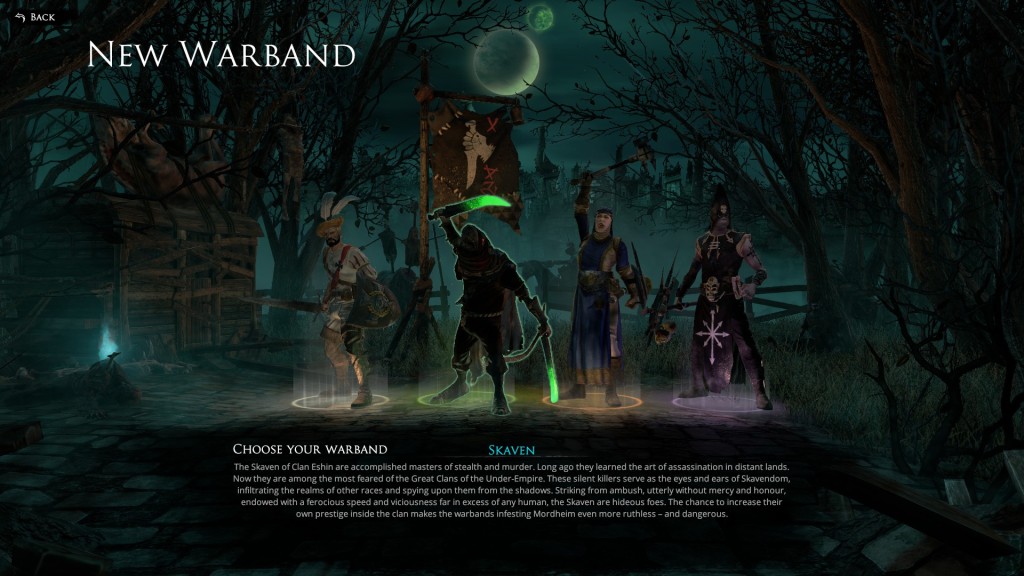
I just love me some Skaven!
After you’ve chosen which warband you wish to control, it’s time to fill your group with troops. Your team can be filled with one leader, one hero, and up to five henchmen.
Each character you hire costs an initial hiring fee and require upkeep to be paid in order for them to stay in your team. If you choose not to pay for upkeep or treatment for injuries (or can’t afford it), each day that passes in the game, interest will accrue and injuries will get progressively worse. So make sure you loot that gold!
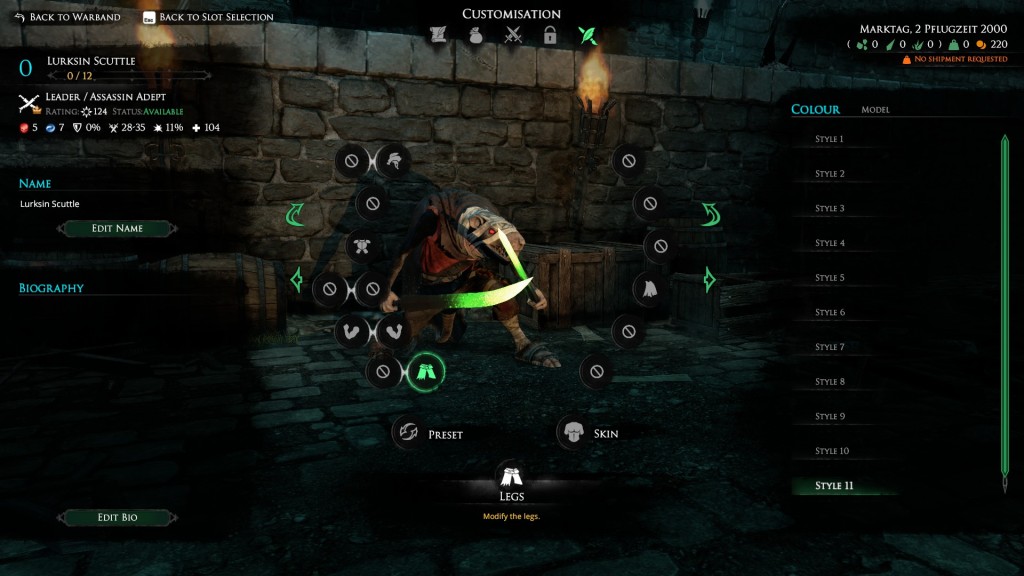
Customise your troops and make the story your own.
Also in the warband management area is the option to customise each individual troop. You can change the look of their head gear, skin colour, armour style/colour and more. If you’re really into role-playing and coming up with your own story, there’s the option to give your characters new names and even write a biography for them. Unfortunately the biography can only be seen by you.
When you’re happy with your warband, you can dive straight into the campaign or head into a Skirmish against a friend or random opponent.
As you will learn in the tutorial, whilst you’re in a match, each character has their own turn and can be controlled by the ‘WASD’ keys. Movement is limited by the amount of movement points a character has and attacks are also limited to a character’s combat points.
There are so many ways to plan your attack on an opponent. If you have a ranged character, find an ideal position up high so you can fire down upon your enemy without running the risk of them coming over to you next turn and beating your arse down. Otherwise you can just run straight in and start pummelling an opposing unit as many times as you can.
When it’s your opponent’s turn, you cannot see what they are doing unless they move into one of your troops’ line of sight. The order in which troops can act is determined by the way you configure a unit in your warband. I.e. A swiftly configured Skaven will have a greater initiative ratio to get a head start in the turn order. However, this will usually come at the expense of strength or toughness.
Once your turn is over, depending on how many movement/combat points you have left, you can change to a dodge, parry or ambush position. Dodge will give you a higher chance to dodge, parry gives a higher chance to parry, and ambush will force your character to charge at an enemy who ends up within your ambush range. Be careful how you use the ambush range, as you could easily make up the extra gap between you and a horde of the opposition’s team, and ultimately lose a character.
When a troop dies, your team’s morale decreases. If your team’s morale falls below forty percent of it’s maximum, your team leader undergoes a leadership test. Should your leader be out of action, the test falls to your team’s hero. Henchmen cannot take the leadership test, therefore if your leader and hero are both OOA, the team will “route”. Routing basically means the match is over and your entire team retreats resulting in a loss for you.
If the leadership test is passed, you can continue fighting. Should it fail, your warband will route. With this in mind, if you prefer to deal as much damage as you can to the opposition, try to refrain from taking out the enemy leader or hero. Take out the henchmen first and then focus on the remaining troops who can undergo a leadership test.
Don’t Panic, Chaos is at Work! AKA RNG Galore
Mordheim: City of the Damned combat relies heavily on RNG (random number generator). As everyone who has played a game with RNG mechanics knows, percentages aren’t necessarily something you should get excited or disappointed over. A ninety-five percent chance to successfully attack an opponent can miserably fail… quite often as well. But then again a five percent chance to parry an attack can very likely be a success. Of course it’s all down to luck, but then again sometimes it can feel like luck is always against you but completely on the side of your opposition.
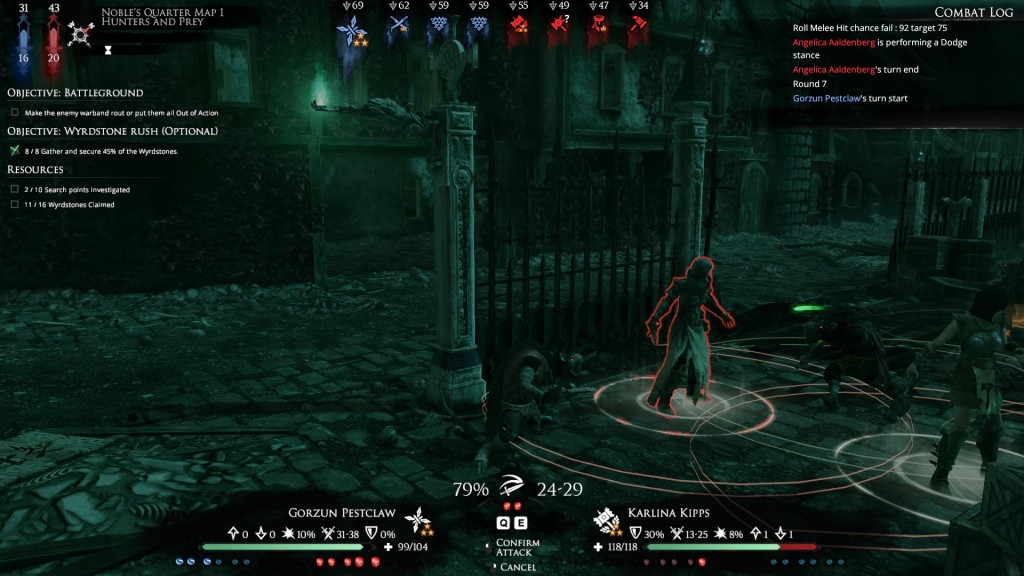
79% chance to hit. Sounds likely to happen right? Wrong… I missed both attacks.
RNGs can often be the difference between your team routing or winning a match, but other factors can also hinder you such as hidden traps. Scattered randomly among the procedurally generated stages are a number of hidden traps. These traps can be quite frustrating, especially if you end up running through an area that you know will most likely give you an annoying debuff, but forget, and end up doing it anyway. Many a facepalm moment for this reviewer…
Along with hidden traps come neutral monsters and bosses. These creatures will attack any character that is deemed a threat. But you know what they say, “The enemy of my enemy is my friend”.
Progressing Your Warband
Each member of your warband gains experience for doing different things. For example, performing the attack that puts an enemy out of action will net your troop an extra bit of XP. After reaching a set amount of XP your warband members will go up a level. Levelling up provides them with points to go towards attributes. There are quite a few attributes to build up which provides even more strategic planning.
Some stats might increase your chance to attack successfully, whilst others will increase your dodge or parry chance. Because of the vast range of stats to increase when levelling up your warband, you can have one troop specifically designed for long-range fighting whilst another can be decked out to become a supreme spell caster. The choice is yours.